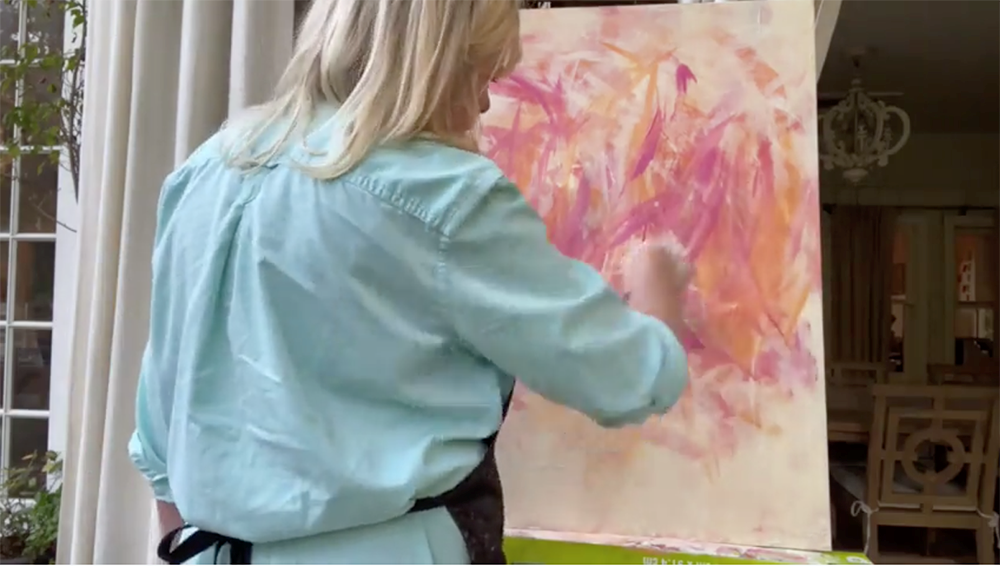
Abstract Acrylic Painting Tutorial
Have you tried painting with COLORSHOT Premium Acrylic Paints yet? If you haven’t, there’s no time like the present to get started! “Okay, but I don’t know how to paint,” you might argue. We have you covered there too! Artist Leslie Saeta from the incredibly fabulous lifestyle blog My 100 Year Old Home will show you how to create your own abstract art in this acrylic painting tutorial. So now that you’re out of reasons NOT to try our acrylic paints, it’s time to get started on your next artistic adventure!
You’ll need a paintbrush and palette knife

For this acrylic painting tutorial, Leslie uses two tools – a palette knife for building texture, and a paintbrush for brushing on and blending paint for each layer on the canvas.
Use palette knife to spread paint

For your first layer, use the palette knife to spread swatches of different paint colors onto the canvas. It doesn’t have to be perfect or uniform; get creative with it and add lots of texture if you like!
First layer of paint

If you’re following this acrylic painting tutorial when making your own painting, your first layer might look a little something like this. It doesn’t HAVE to match though; it’s YOUR painting!
Brush a layer of paint over base layer

For the next layer in this acrylic painting tutorial, grab your paintbrush and start brushing other paint colors over your base layer. You can brush the color in any direction you like, any place you feel like on the canvas.
Continuing brushing on swatches of paint

Continue layering swatches of color with your paintbrush. You can make the swatches as large or small as you’d like, and you don’t have to wait for each paint layer to dry before adding more paint. Part of the fun is seeing how the colors blend to make new hues!
Determine focal point of painting

Once you’ve blocked out the colors to your liking, for the next part of this acrylic painting tutorial, Leslie recommends deciding where you’d like the focal point of your piece to be. You’ll then want to shift your color application around it as you work on adding more paint layers.
Use palette knife to add texture

Continue brushing on more sections of different paint colors. You can even use your palette knife to add texture as you work.
Add brighter colors

Try adding in swatches of brighter colors as you build your layers.
Add darker strokes for depth

Then add strokes of darker colors for depth.
Add more color to focal point

Add your heaviest concentration of color(s) where you want the focal point(s) of your painting to be. Continue until you are happy with the result!
Acrylic painting tutorial with COLORSHOT

If this acrylic painting tutorial has taught you anything, we hope that you’ve learned it doesn’t have to be complicated or stressful. Creating art is a personal journey, and most importantly, it should be fun! And hey, the fact that you have great paints to work with (a.k.a. COLORSHOT Acrylic Paints) is a total bonus! What art are you creating with COLORSHOT? Make sure to tag us on social @mycolorshot and share with us!


